Terraform (brush-up)
Setting up an AWS Account
-
Refer to this document to set up your AWS account.
-
Refer to this document to create an IAM user. For simplicity, attach the
AdministratorAccessIAM policy to the user so we won't run into permission issues. Just as an FYI, this is against security best practices, but we will fix this later. -
Generate access key ID and secret access key for the user you created in the previous step. Refer to this [document] (https://docs.aws.amazon.com/powershell/latest/userguide/pstools-appendix-sign-up.html).
-
Install AWS CLI. Refer to this document.
-
Install AWS Vault from here.
Install Terraform
For MacOS:
brew tap hashicorp/tap
brew install hashicorp/tap/terraform
For Windows:
choco install terraform
Checkout the official documentation for other platforms.
Make sure terraform is installed:
terraform
Usage: terraform [global options] <subcommand> [args]

The available commands for execution are listed below.
The primary workflow commands are given first, followed by
less common or more advanced commands.

Main commands:
  init          Prepare your working directory for other commands
  validate      Check whether the configuration is valid
  plan          Show changes required by the current configuration
  apply         Create or update infrastructure
  destroy       Destroy previously-created infrastructure
...
Terraform needs to have access to your AWS credentials (the ones you created in the previous step). There are several ways to do this and we will cover most of them as we go forward.
For now, you can have your credentials as environment variables for Terraform to access them:
export AWS_ACCESS_KEY_ID=xxxxxxx
export AWS_SECRET_ACCESS_KEY=xxxxxx
Note that this approach only works in your current shell. If you open up a new shell, they'll be gone.
Another way is to use aws-vault which you installed in the previous step.
aws-vault exec dev -- terraform apply
Creating a Simple Server
Terraform code is written in the HashiCorp Configuration Language (HCL) in files with the extension .tf. It is a declarative language, so your goal is to describe the infrastructure you want, and Terraform will figure out how to create it. We'll start by deploying a simple server on AWS.
Start by creating a file named main.tf:
terraform {
  required_providers {
    aws = {
      version = ">= 4.0.0"
      source = "hashicorp/aws"
    }
  }
}
Download the AWS plugin for Terraform:
terraform init
This will download the required plugin and put it in the .terraform folder. We don't commit this folder to version control. So, let's make the current directory a git repo and add a .gitignore file to exclude the .terraform folder (along with other files and folders).
Initialize a git repo:
git init
Create a .gitignore file and set it up as discribed on this page.
Add a provider block to your main.tf to specify an AWS region:
provider "aws" {
  region = "ca-central-1"
}
Now it's time to add a resource. Resources in Terraform are declared as below:
resource "<PROVIDER>_<TYPE>" "<NAME>" {
  [CONFIG ...]
}
Where the PROVIDER is the plugin you're using (in this case, AWS); TYPE is the type of resource you want to create (in this case, EC2); NAME is the local name you give to the resource; and CONFIG is the arguments specific to the resource. Here's an example for an Ubuntu server in the ca-central-1 region.
resource "aws_instance" "example" {
  ami           = "ami-0b6937ac543fe96d7"
  instance_type = "t2.micro"

  tags = {
    Name = "bvc"
  }
}
Terraform binary contains a formatting tool to format your tool. It is highly recommended to do so, as it will improve readibility.
terraform fmt
Validate your code to catch any syntax errors withing your Terraform code:
terraform validate
If you get this message, you're good to go:
Success! The configuration is valid.
Before creating the instance, it's recommended to see what Terraform calls the Plan. It shows the changes to be made before actually making them. This is a great way to make sure we're not accidentally making a change we're not supposed to. See the plan with this command:
terraform plan
You should see an output similar to this:
Terraform will perform the following actions:

  # aws_instance.example will be created
  + resource "aws_instance" "example" {
      + ami                                  = "ami-0b6937ac543fe96d7"
      + arn                                  = (known after apply)
      + associate_public_ip_address          = (known after apply)
      + availability_zone                    = (known after apply)
      + cpu_core_count                       = (known after apply)
      + cpu_threads_per_core                 = (known after apply)
      + disable_api_stop                     = (known after apply)
      + disable_api_termination              = (known after apply)
      + ebs_optimized                        = (known after apply)
      + get_password_data                    = false
      + host_id                              = (known after apply)
      + host_resource_group_arn              = (known after apply)
      + id                                   = (known after apply)
      + instance_initiated_shutdown_behavior = (known after apply)
      + instance_state                       = (known after apply)
      + instance_type                        = "t2.micro"
      + ipv6_address_count                   = (known after apply)
...

Plan: 1 to add, 0 to change, 0 to destroy.
Once we're ok with the changes, we can apply them using terraform apply. This command will prompt you for one last time. In case you want to skip this prompt, run terraform apply --auto-approve.
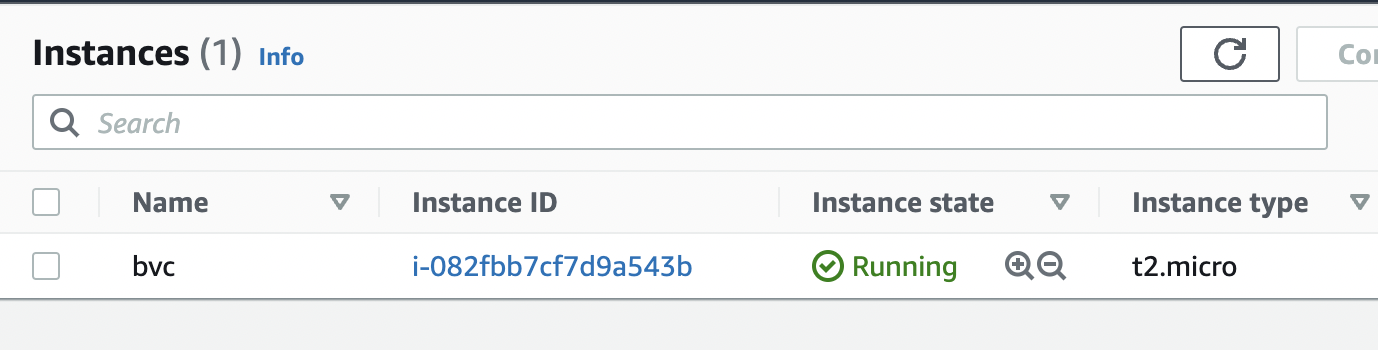
After about 30 seconds, the instance is up and running.
Next, we want to creat an AWS key pair so that we can SSH into the instance:
resource "tls_private_key" "key" {
  algorithm = "RSA"
  rsa_bits  = 4096

  provisioner "local-exec" {
    interpreter = ["bash", "-c"]
    command     = "echo '${self.private_key_pem}' > ${pathexpand("~/Downloads/canada.pem")}"
  }
}
The local-exec provisioner enables us to run a custom script on the machine that runs the Terraform code (in this case, our own machine). The script makes sure that we store the private key somewhere on our local file system so we can log in to the instance.
We need to also associate the key with the instance we create earlier:
resource "aws_instance" "example" {
  ami                    = "ami-0b6937ac543fe96d7"
  instance_type          = "t2.micro"
  key_name               = aws_key_pair.key_pair.key_name
}
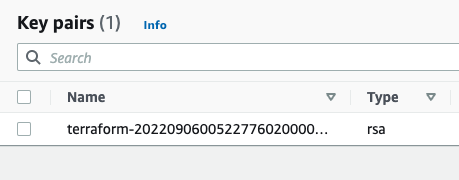
After applying the changes, the key is created, yet we can't still SSH into the instance. The reason is that there's currently no security group attached to the instance that opens the SSH port for us. Let's add one:
data "aws_vpc" "default" {
  default = true
}

resource "aws_security_group" "allow_ssh_http" {
  name        = "allow_ssh_http"
  description = "Allows SSH and HTTP"
  vpc_id      = data.aws_vpc.default.id

  ingress {
    description = "SSH"
    from_port   = 22
    to_port     = 22
    protocol    = "tcp"
    cidr_blocks = ["0.0.0.0/0"]
  }

  ingress {
    description = "Allows HTTP"
    from_port   = 80
    to_port     = 80
    protocol    = "tcp"
    cidr_blocks = ["0.0.0.0/0"]
  }

  egress {
    from_port   = 0
    to_port     = 0
    protocol    = "-1"
    cidr_blocks = ["0.0.0.0/0"]
  }

  tags = {
    Name = "allow_ssh"
  }
}
The security group allows both SSH and HTTP (later we're installing a web server on the instance, so it's necessary to have HTTP as well).
As security groups belong to a VPC on AWS, we also need to grab the id of the default VPC that AWS creates for us in each region. The data block in Terraform enables us to do that. Note that the information we can get from a provider (in this case, AWS) depends on the provider itself and can be different from one provider to another. Don't forget to associate the security group with your instance:
resource "aws_instance" "example" {
  ami                    = "ami-0b6937ac543fe96d7"
  instance_type          = "t2.micro"
  key_name               = aws_key_pair.key_pair.key_name
  vpc_security_group_ids = [aws_security_group.allow_ssh_http.id]
  ...
}
After SSHing to the instance, we can now install an Apache web server:
sudo apt update
sudo apt install apache2
sudo systemctl start apache2
sudo systemctl enable apache2
Apache should now be running on the port 80 of the instance. In order to see the default Apache page, we would need the public IP of the instance. Although you can get that from the AWS console, let's output that using Terraform:
output "public_ip" {
  value = aws_instance.example.public_ip
}
You can now apply the changes and see the public IP address of the instance printed out in the console. Head to the IP address and you should be able to see the default Apache page.